How to install all in one solar street light?
Step 1
II. Preparing for Installation
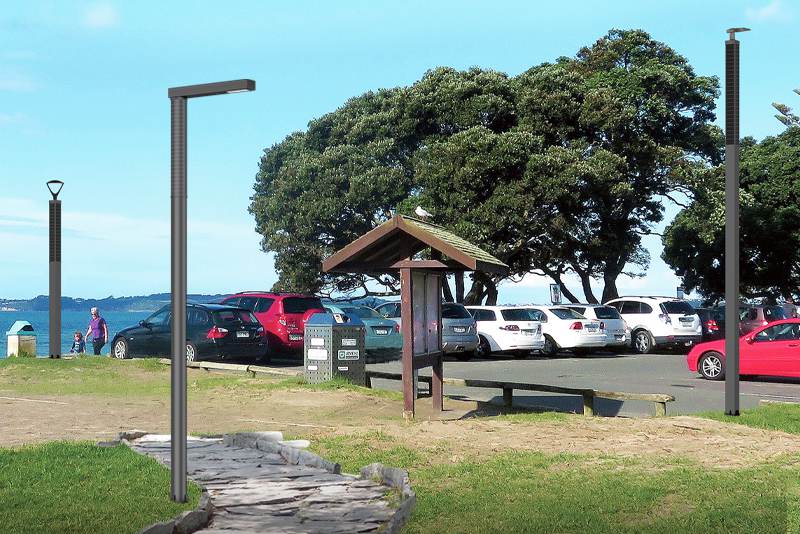
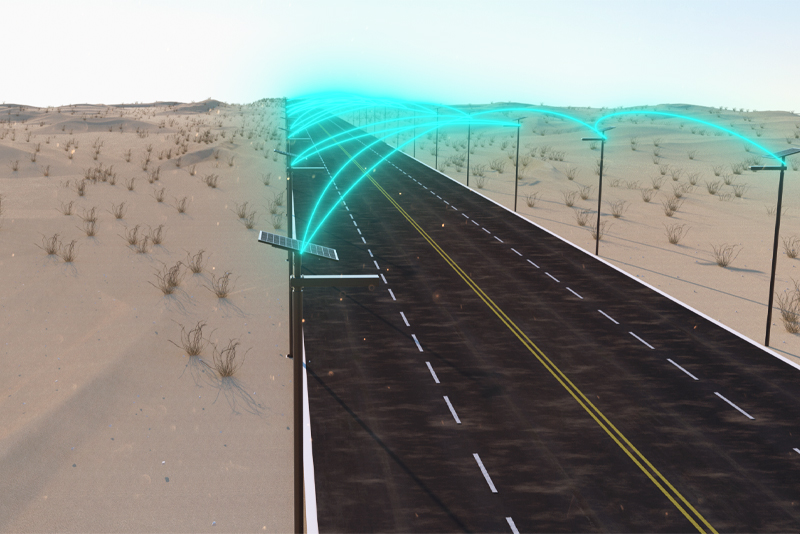
A. Choosing the right location
Step 2: Checking the
Before starting the installation process, it is crucial to check
Step 3: Gathering Necessary Tools and Equipment
To install an all-in-one solar street light, you will need the following tools and equipment:
Ladder
Drill
Screwdriver
Wrench
Wire cutters
Wire strippers
Screws and bolts
Silicone sealant
Make sure
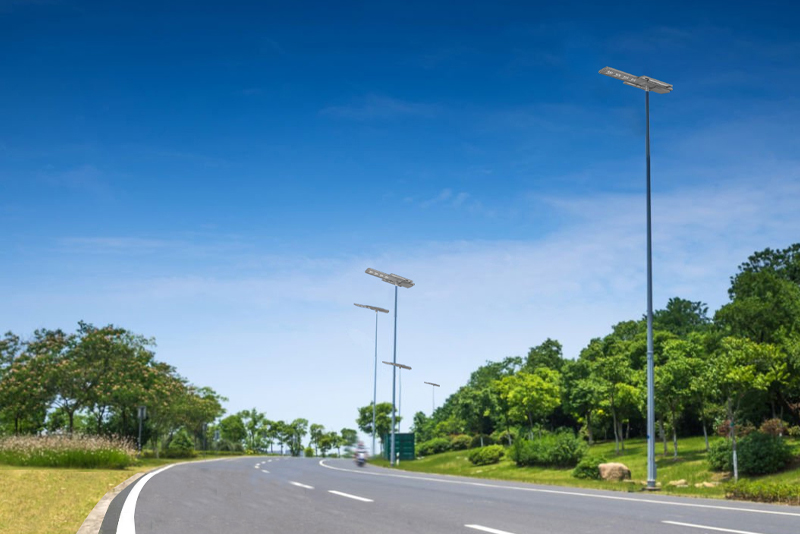
Step 4: Installing the
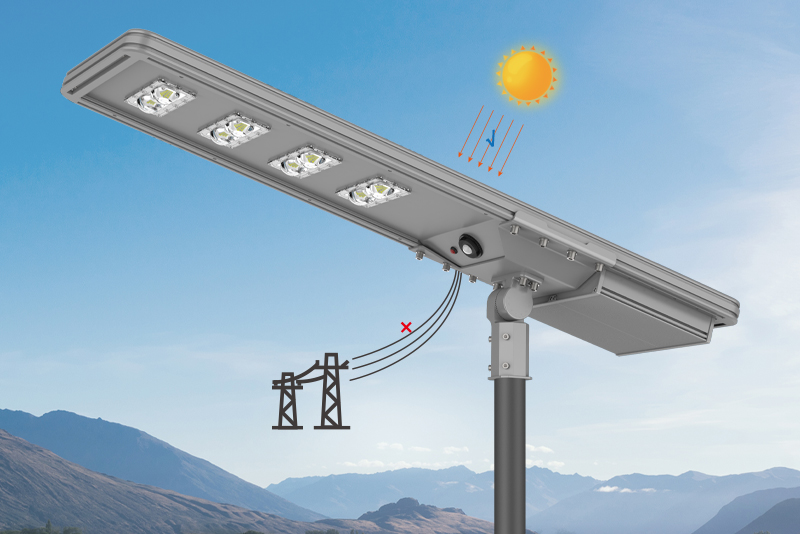
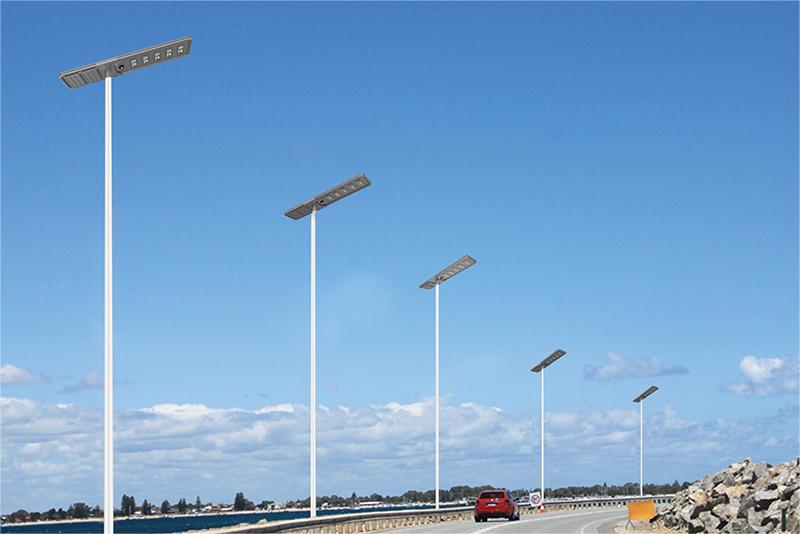
The solar panel
As the picture shows:
")
Technical description:
1, Material: Q355 steel, wall thickness 3.0mm.
2, the light pole is made of high-quality Q355 steel plate and the whole hot dip galvanized anti-corrosion treatment after the completion of the surface electrostatic spray treatment.
3, the use of plug-in anti-theft electrical door, size 500x135mm; The electrical door is equipped with a battery fixing device.
4, all fasteners on the lamp pole (bolts, nuts, gaskets, spring washers) are made of stainless steel SUS316L material.
5, including the base cage
6, color requirements: according to the specified color: wrinkled gray.
")
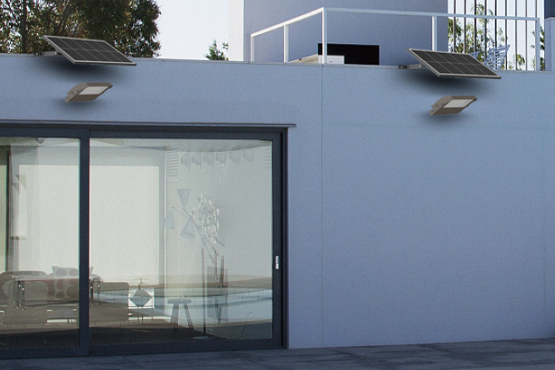
Mount the solar panel on a sturdy pole or wall using the appropriate screws and bolts.
Connect the solar panel's positive and negative wires to the light unit's corresponding terminals.
Secure the solar panel in place using silicone sealant to prevent water from entering.
Step 5: Installing the Battery
The battery stores the electricity generated by the solar panel and powers the light at night. To install
Connect the battery's positive and negative wires to the light unit's corresponding terminals.
Secure the battery in place using the appropriate screws and bolts.
Test the battery by turning on the light and making sure it is charging correctly.
1. List of materials:
①The main body of the light pole, including the main body of the light pole, the main body of the light pole, the electrical door and the fastening screws, the number of IPcs
② - With waterproof plug wire, 2x1,0m "rubber wire, length 6,0 m, quantity 1Pcs
③ -2x1.0mm rubber wire, length 2.0 meters, quantity 1Pcs
④ Solar panel module, with lead line, quantity 1Pc8
⑤- Lamp holder assembly, with lead wire, quantity 1Pcs
⑥- Two waterproof street, quantity 3Pcs
⑦- Battery module, with waterproof plug, quantity 1Pcs
⑧- Embedded parts, quantity 1Pcs-
⑨ installation kit, including 3 hex socket, number of wrench 1 set.
")
Step Three:
1. Use 10# wrench to adjust the lamp holder
⑤ Install the arm to the appropriate Angle, and then insert the arm into the top of the lamp pole, and use the 6# wrench to tighten the fastening screw to complete the installation of the lamp head ⑤.
2, as shown in the figure, connect the battery module 7, open the lamp switch, test whether the lamp cap ⑤ can work normally.
3. After the test is completed, keep the switch closed and disconnect the battery.
Step Two:
1. Use the 4# spanner to loosen the screw in the corresponding position of the solar panel assembly ④, and insert it into the lamp pole item as shown in the figure:
2. When the solar panel module ④ leads the wire close to the step position, complete the ⑥-1 connection and put the connector inside the light pole;
3, the solar panel module ④ set into a fixed position, and use 4 wrench to re-tighten, tighten the screw to complete the solar panel module ④ fixed:
4, according to the label to complete the ⑥ 2, ⑥ 3 wiring, after the completion of the connector into the light pole inside.
")
Step 4:
1. The embedded parts are fixed in advance in the foundation of the installation position of the light pole;
2. After the concrete in the foundation is completely solidified, the main body of the light pole is fixed on the light pole foundation to complete the installation of the light pole.
3, reconnect the battery module ⑦, and put the battery module inside the light pole.
4. Install the electrical door and complete the installation.
")
Step 6: Installing
The light unit is
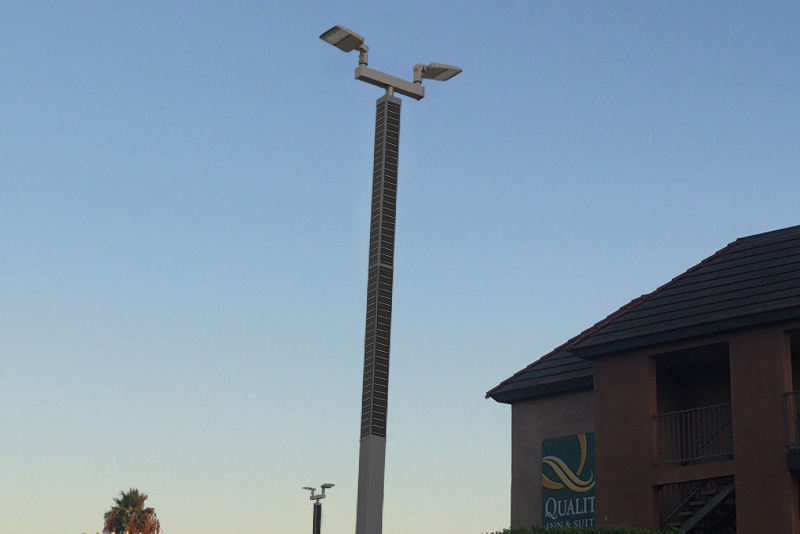
Mount the light unit on the pole or wall using the appropriate screws and bolts.
Connect the light unit's positive and negative wires to the solar panel and battery's corresponding terminals.
Secure the light unit in place using silicone sealant.
Step 7: Testing and Adjusting the Light
Once all the components are installed
Conclusion
All-in-one solar street lights are
FAQs
How long does it take to install an all-in-one solar street light?
The installation process can take anywhere from 1-2 hours, depending on your experience and the location's accessibility.
Can all-in-one solar street lights be used in all weather conditions?
All-in-one solar street lights are designed to withstand various weather conditions, including rain, snow, and extreme temperatures.
How long do the batteries of all-in-one solar street lights last?
The batteries of all-in-one solar street lights can last up to 5-7 years, depending on usage and maintenance.
Can all-in-one solar street lights be used in remote areas?
Yes, all-in-one solar street lights are an excellent lighting solution for remote areas with no access to electricity.
Are all-in-one solar street lights easy to maintain?
All-in-one solar street lights require minimal maintenance, making them a hassle-free lighting solution for outdoor areas.


 English


 Scan WhatsApp
 Scan Wechat
 Scan WhatsApp
 Scan Wechat
 Consult Now